How to Plan a Floorboard Layout (Save 12% on Materials)
To plan a floorboard layout, draft your room with millimeter precision, choose a pattern, and generate a cutlist that reuses offcuts. This process saves an average of 12% on materials, that’s $288 on a typical $2,400 flooring project. (all prices in USD)
Most installers waste money by making cuts as they go without planning where each offcut fits. This guide walks you through the 5-step process used by professional flooring contractors to eliminate that waste, if you’re quoting a job or doing your first DIY floor.
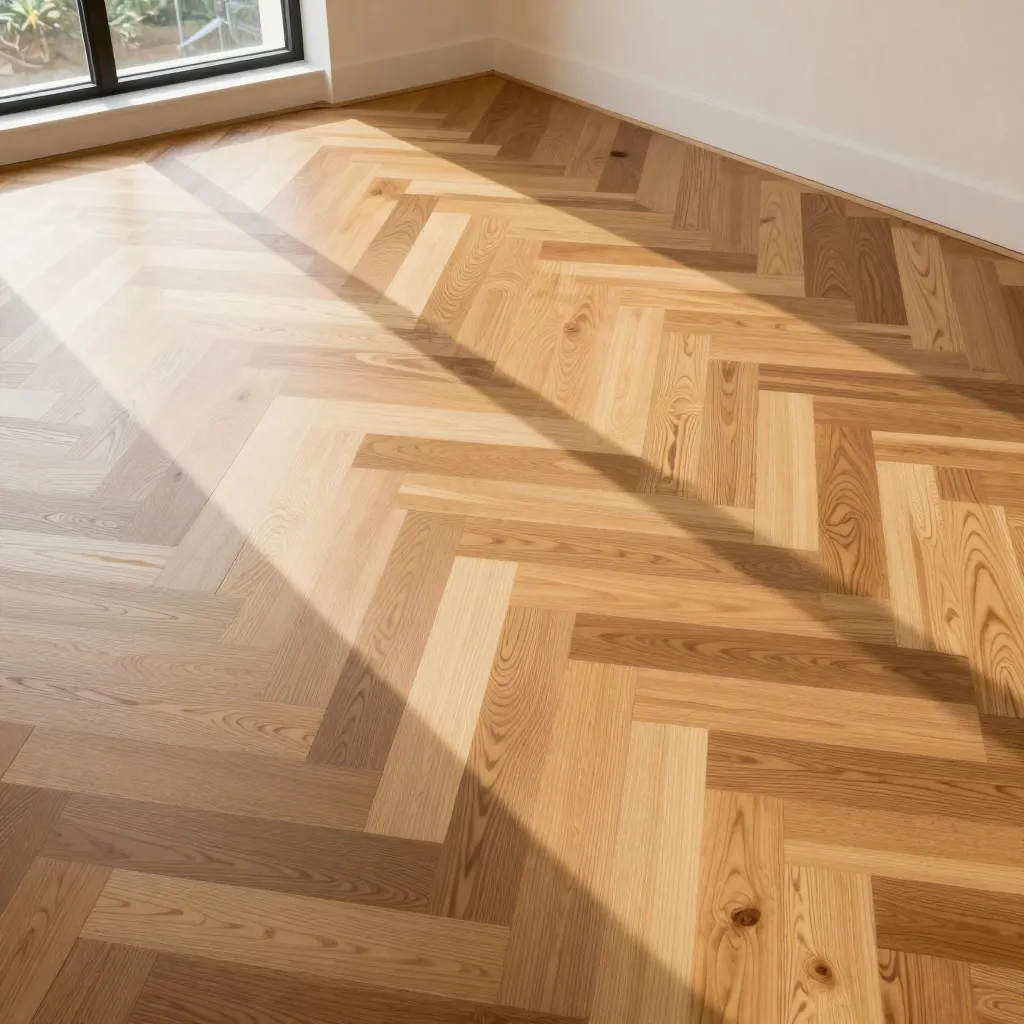
Why Most People Waste Money on Floorboards
Here’s what typically happens: you measure your room, calculate the square meterage, add 10% for waste, and order. On installation day, you make cuts as you go, and by the end you’ve got a pile of offcuts that are too short to use anywhere.
The problem isn’t the extra 10% you ordered. The problem is that you didn’t plan where each cut goes. A two-hundred-millimeter offcut from one row might be perfect for starting the next row, but only if you know that before you make the first cut.
The average unplanned flooring installation wastes 12% more material than a planned one.
On a $2,400 material order, that’s $288 straight in the bin.
What You Need Before You Start
Before planning your layout, gather these:
Step 1: Draft Your Room with Millimeter Precision
The foundation of a good floorboard plan is an accurate room draft. Every dimension matters because small errors compound.
📐 Why millimeters matter
If your room is 5mm wider than you measured, and you’re laying 100mm-wide boards, that error is invisible on the first row. By row twenty, you’ve got a 20mm gap – enough to need a recut on an entire row.
When drafting:
- ▸Start with the basic rectangle – even if your room isn’t rectangular, begin with the largest rectangular section
- ▸Add cutouts for obstacles – islands, doorways, and alcoves each need their own cutout
- ▸Include wall thicknesses where relevant, if boards will run under doorframes, account for the frame depth
- ▸Note the direction boards will run – conventionally along the longest wall or toward the main light source
Pro tip for contractors: Draft the room digitally before visiting the site for final measurement. You can refine dimensions on-site, but having a template ready saves 20-30 minutes per job.
Step 2: Choose Your Pattern (It Affects Waste More Than You Think)
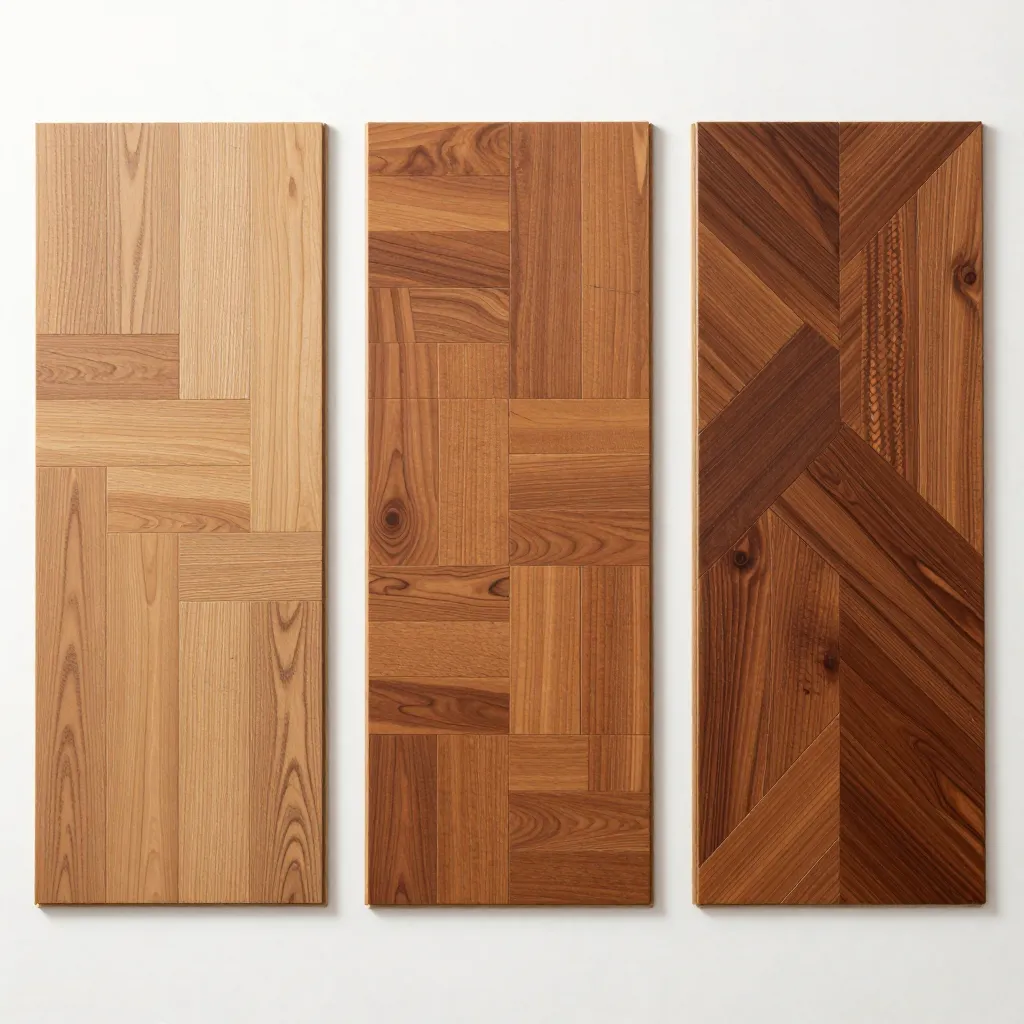
Your pattern choice isn’t just aesthetic – it directly impacts material usage.
Best for large rooms, modern aesthetics, and budget-conscious projects. Maximum flexibility for offcut reuse.
Traditional look with consistent rhythm. Each row offset by half a board length. Limits offcut reuse slightly.
Premium look for feature rooms and hallways. Angular cuts generate more waste and constrain offcut reuse.
💰 The real-world impact (40m² room, $60/m² engineered hardwood)
That doesn’t mean avoid herringbone – it means know what you’re paying for the look.
Our planner calculates the optimal pattern for your room shape → try it free.
Step 3: Generate Your Cutlist with Offcut ReuseThis is where planning separates from guessing. A cutlist tells you exactly which plank to cut, where, and in what order.
What is a cutlist?
A cutlist is a per-plank breakdown of every cut in your installation. It lists each board number, the cut dimensions, and crucially – which offcuts from previous cuts get reused in later rows.
How offcut reuse works
Imagine you cut a 612mm piece from an 800mm board. You have a 188mm leftover (minus saw kerf). Without planning, that offcut goes in the skip. With a cutlist:
Multiply this across an entire room and the savings compound. This is the mechanism behind the 12% average material savings.
What a good cutlist includes
Step 4: Account for Expansion Gaps
Wood expands and contracts with humidity changes. Without an expansion gap, your floor will buckle when it expands in summer.
Standard expansion gap: 10–15mm
Around the entire perimeter, hidden by skirting boards, scotia/beading trim, or transition strips at doorways.
When planning your layout, the expansion gap reduces your effective room dimensions. A room measuring 4,000mm x 3,500mm with 12mm gaps becomes 3,976mm x 3,476mm for planning purposes. That 24mm difference can mean one fewer board per row.
Step 5: Export Your Blueprint and Get to Work
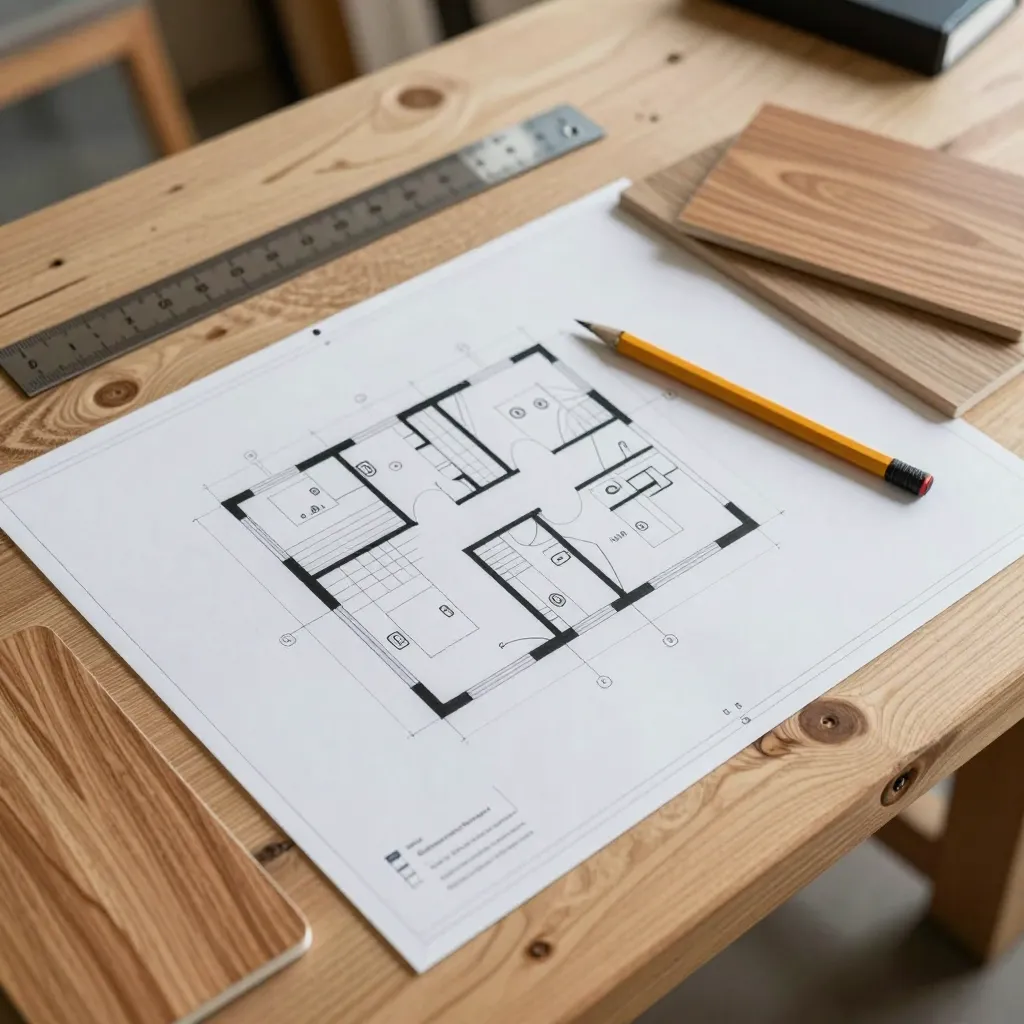
Once your plan is complete, export a printable PDF blueprint. A professional blueprint includes:
- ▸Scaled room layout with all dimensions and cutouts
- ▸Pattern overlay showing exactly how boards will be arranged
- ▸Full cutlist with per-plank cutting instructions
- ▸Material totals – total boards needed, total waste, waste percentage
- ▸Budget estimate, if you’ve entered a cost per area
Print this out and take it to the job site. Your cutting person follows the list in order. No guessing, no “I thought you meant this measurement,” no wasted boards.
📄 See an example blueprint PDF →
Common Floorboard Planning Mistakes to Avoid
Tools That Make This Easier
Planning a floorboard layout by hand is possible – people did it for centuries. But it takes hours, and you’ll still make errors that cost you materials.
A digital planning tool handles the geometry, calculates offcut reuse automatically, and generates a professional cutlist in minutes. Floorboard Planner does exactly this – it runs in your browser, nothing to install, and the free tier lets you plan your first room without entering a credit card.
Frequently Asked Questions
Related Guides
How much waste should I expect when installing floorboards? +
What is an offcut reuse strategy? +
Do I need to account for expansion gaps? +
What’s the best floorboard pattern for small rooms? +
How accurate does my room measurement need to be? +
Written by the Floorboard Planner Team
We build floor planning software used by professional flooring installers and DIY homeowners worldwide. Our cutlist engine has planned over 10,000 rooms and saved an estimated $2M+ in materials. Every guide is based on real installation data from our platform.
Ready to stop wasting floorboards?
Plan your next project with Floorboard Planner – free, browser-based, no credit card required. Get a millimeter-accurate blueprint and cutlist in minutes.
Try Floorboard Planner Free →