8 min read
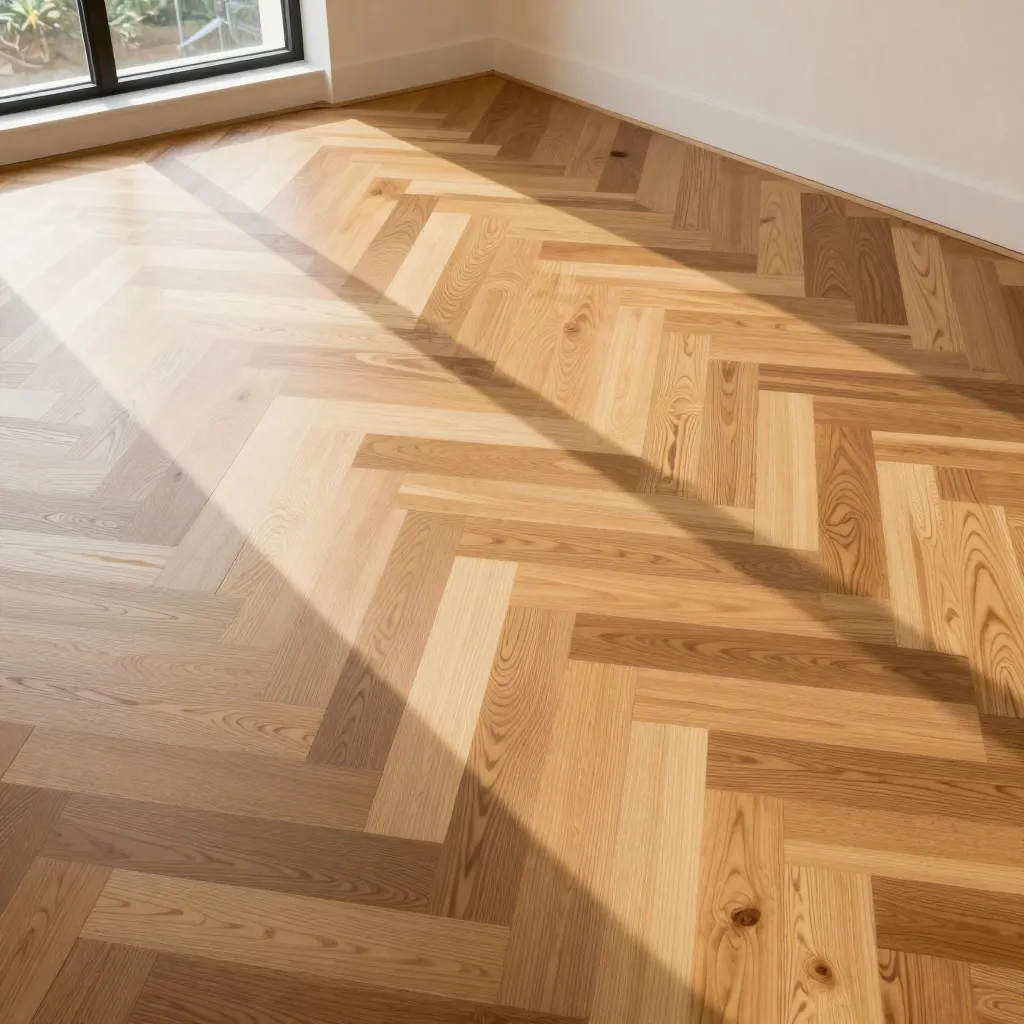
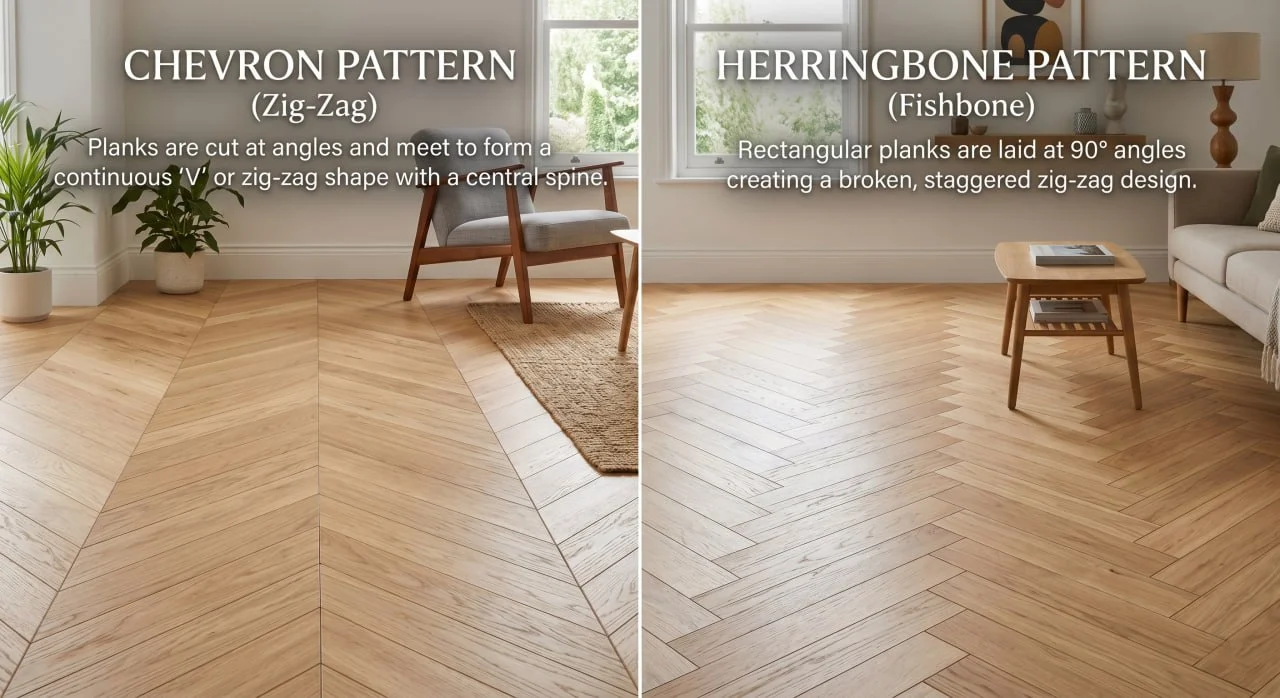
Herringbone uses rectangular planks set at 90-degree angles in a staggered zigzag pattern, while chevron uses planks cut at 45-degree angles that meet point-to-point in a continuous V-shape.
Choosing between these two premium flooring patterns affects your installation cost, material waste by up to 10%, and the entire visual character of your room.
What Is the Actual Difference Between Herringbone and Chevron?
The confusion is understandable. Both patterns use diagonal geometry. Both create rhythm across the floor. Both have roots stretching back centuries. But the way the planks meet changes everything: the installation process, the material cost, the visual energy, and how the pattern interacts with your room’s proportions.
Here’s the core distinction in plain terms:
Herringbone
- ▶ Rectangular planks (no angled cuts)
- ▶ Laid at 90-degree angles
- ▶ Staggered, broken zigzag effect
- ▶ Planks overlap at the ends
Chevron
- ▶ Planks cut at 45-degree angles
- ▶ Meet point-to-point
- ▶ Continuous, unbroken V-shape
- ▶ Clean geometric precision
Think of it this way: herringbone is a pattern you can plan. Chevron is a pattern you must engineer. The difference in how each plank is shaped determines everything downstream, from the tools you need to the final cost per square foot.
How Does Each Pattern Look in a Real Room?
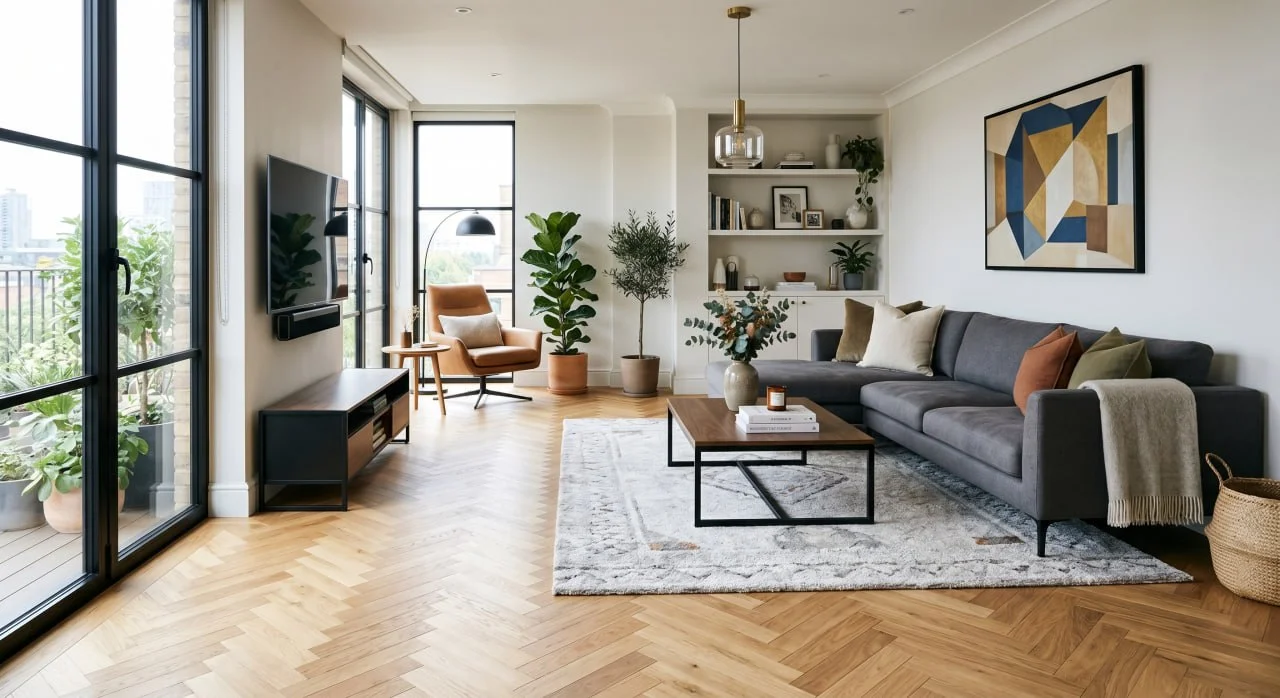
The visual impact of each pattern goes far beyond the geometry. Herringbone and chevron create fundamentally different atmospheres in the same space.
Key Insight
Herringbone’s staggered breaks create visual depth and texture. Chevron’s continuous lines create directed energy and flow. The same wood species can look traditional in herringbone and modern in chevron.
Herringbone: Timeless Depth and Warmth
Herringbone flooring has been used since ancient Rome, and it shows. The broken zigzag creates a sense of movement without being aggressive. It works in virtually any room size, and the staggered pattern naturally hides minor subfloor imperfections and daily wear. Lighter oak tones feel airy; darker walnut feels rich and grounded.
The pattern’s visual complexity makes it forgiving. Small gaps between planks get absorbed into the overall rhythm. Minor length variations between boards blend into the stagger. For homeowners who want a premium look without obsessive precision, herringbone delivers.
Chevron: Bold Architectural Impact
Chevron takes the same zigzag concept and removes the breaks. Every point aligns. Every line flows uninterrupted from one end of the room to the other. The result is flooring that functions almost like an arrow, pulling the eye in the direction the V-shapes point.

This makes chevron exceptional in large, open spaces where the continuous lines can stretch without interruption. In smaller rooms, the strong directional energy can feel overwhelming. The pattern demands precision because any misalignment at a single point breaks the entire visual rhythm.
What Are the Installation Differences?
Both patterns require more skill than straight-lay plank installation. But the degree of difficulty, tools needed, and time commitment differ significantly.
Pro Tip
Use a floor planner tool before you buy materials. For herringbone, plan your starting point and working direction. For chevron, map every cut to minimize angle-specific waste. A good layout plan can save 5-8% on materials.
Herringbone Installation
Herringbone uses standard rectangular planks with no pre-cutting required. The installation follows these steps:
Find the room’s center line and establish a starting point. Mark reference lines on the subfloor.
Lay the first few planks in an L-shape at the center. Use spacers to maintain consistent gaps.
Work outward from the center in both directions. Each plank butts against the end of the previous one at 90 degrees.
Cut perimeter pieces to fit walls. Standard rectangular offcuts are often reusable elsewhere.
The entire process uses standard tools: mallet, spacers, pull bar, and a saw for perimeter cuts. The pattern tolerates minor imperfections because the staggered breaks absorb small variations.
Chevron Installation
Chevron demands more precision at every step:
Every plank must be cut at 45 degrees on both ends before installation begins. This is non-negotiable.
Establish a precise center line. Every V-point must align perfectly or the entire floor looks off.
Work from the center outward. Check alignment after every few rows. There is no room for “close enough.”
Perimeter cuts are angle-specific. Most offcuts cannot be reused because the angles don’t match other edges.
The specialized cutting and alignment checking adds 20-40% more installation time compared to herringbone. You need a precision saw and experience with angle cuts. Most homeowners hire a professional for chevron, while experienced DIYers can tackle herringbone.
How Much Material Will You Waste?
Material waste is where the cost difference between these two patterns becomes real. The geometry of each pattern directly determines how much wood ends up in the scrap pile.
10-15%
Herringbone Waste
Rectangular offcuts are reusable
15-20%
Chevron Waste
Angle-specific cuts are rarely reusable
For a 500-square-foot room, that’s a difference of roughly 25 square feet of wasted material. At $6-12 per square foot for engineered hardwood, you’re looking at an extra $150-300 in material costs just from waste alone. (all prices in USD)
A floor planning tool like FloorboardPlanner can reduce waste for either pattern by intelligently reusing offcuts. The software calculates cut lists that maximize material usage, typically saving 12% on materials compared to manual planning.
Herringbone vs Chevron: Cost Comparison
Both patterns cost more than straight-lay plank flooring. The premium comes from material waste, installation time, and the skill required. But the gap between herringbone and chevron is meaningful.
Factor
Material waste
Installation time
Labor cost
DIY-friendly?
Typical total premium
Herringbone
10-15%
Moderate
15-20% over straight-lay
Yes, with experience
$2-4/sq ft
Chevron
15-20%
20-40% longer
25-35% over straight-lay
Professional recommended
$4-7/sq ft
For a typical 500-square-foot project, you’re looking at roughly $1,000-2,000 for herringbone labor versus $2,000-3,500 for chevron. Add the material waste difference and the total project cost gap can reach $1,500-3,000.
Budget Tip
If you love the chevron look but need to stay on budget, consider herringbone with a feature border. You get the premium pattern in the main area with simpler perimeter cuts that reduce both waste and labor time.
Which Pattern Should You Choose?
The right pattern depends on three factors: your room size, your design style, and your budget. Here’s a quick decision framework.
Choose Herringbone If:
- ▸ You want a classic, timeless look that works in both traditional and modern spaces
- ▸ Your room is small to medium-sized and needs visual depth without being overwhelming
- ▸ You’re working with a tighter budget (lower waste, lower labor cost)
- ▸ You have an irregular floor plan with many doorways and openings
- ▸ You’re an experienced DIYer comfortable with standard tools
Choose Chevron If:
- ▸ You want a bold, modern statement that anchors the room’s design
- ▸ Your space is large and open, where continuous lines can flow uninterrupted
- ▸ You’re pairing the floor with minimalist or contemporary furnishings
- ▸ Budget allows for professional installation and higher material waste
- ▸ You want the floor to be the focal point of the room
Common Mistakes to Avoid
Skipping the floor plan
Both patterns need a layout plan before the first plank goes down. Without one, you’ll waste more material and end up with unbalanced borders.
Ignoring subfloor preparation
Geometric patterns amplify subfloor imperfections. A 1/8-inch gap that’s invisible in straight-lay becomes obvious in herringbone or chevron. Level the subfloor first.
Ordering exactly the square footage
Always order 15-20% extra for herringbone, 20-25% for chevron. Running short mid-install means matching dye lots, which may not be possible weeks later.
Starting chevron without checking alignment
The first row sets the tone for the entire floor. If those initial V-points are even 1mm off, the error compounds across the room. Measure three times, cut once.
The best way to avoid these mistakes is to plan your layout before you buy a single plank. Our free floor plan tool calculates waste percentages, shows optimal plank placement, and gives you a cutlist you can hand directly to your installer.
Tools That Make This Easier
Planning a herringbone or chevron floor starts before you buy a single plank. FloorboardPlanner is a browser-based tool that lets you draw your room, choose your pattern, and get an optimized cutlist that reuses offcuts intelligently. The software accounts for waste percentages, calculates exactly how much material to order, and shows you where each piece goes.
Whether you go herringbone or chevron, planning the layout first saves money, reduces waste, and gives your installer a clear roadmap to follow.
Written by the FloorboardPlanner Team
FloorboardPlanner is used by flooring professionals and DIY homeowners to plan herringbone, chevron, stagger, brick, and basketweave patterns. The tool has planned over 10,000 rooms with an average 12% material savings.
Plan Your Perfect Floor Layout
Draw your room, choose herringbone or chevron, and get an optimized cutlist that saves 12% on materials. Free, browser-based, no download required.
Related Guides
What is the difference between herringbone and chevron flooring?
+
Which flooring pattern wastes more material?
+
Is herringbone or chevron easier to install?
+
Which pattern is better for small rooms?
+
Does herringbone or chevron cost more?
+
Related Reading
- → Which Direction to Lay Hardwood Flooring, Rules for joists, light, and room shape
- → Hardwood vs Laminate Flooring, 2026 comparison on cost, durability, and installation