5 Floorboard Stagger Pattern Mistakes (And How to Fix Them)
A stagger pattern mistake is when floorboard end joints align, repeat predictably, or form visible H-joints and staircases. These errors happen when installers use offcuts sequentially without randomizing starting lengths. The fix: offset joints by at least 3x the board width and never start two consecutive rows the same way.
You’ve picked the wood, prepped the subfloor, and you’re laying boards. But something looks off. The joints are lining up in neat rows, or worse, they’re stepping up the room like a staircase. These are stagger pattern mistakes, and they’re the most common sign of an amateur installation. Here’s what causes each one and how to fix it.
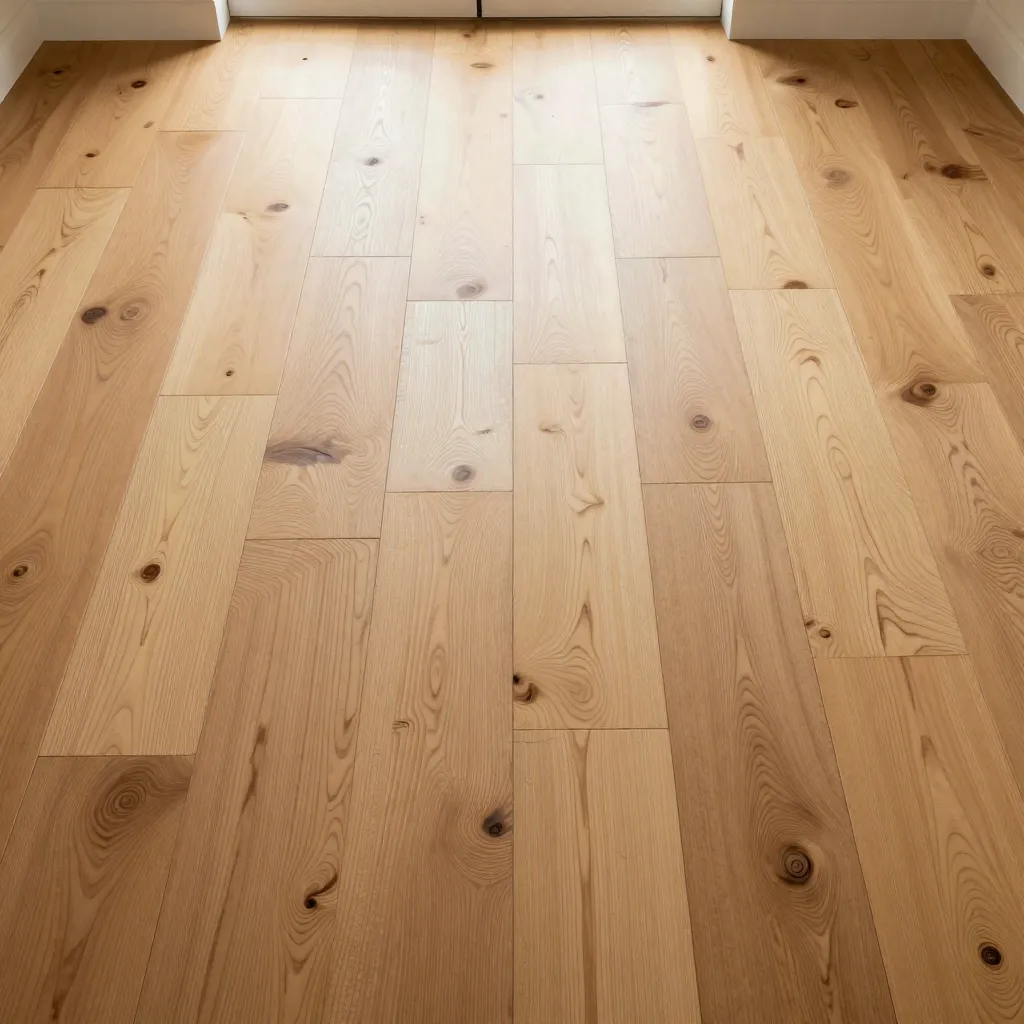
Mistake 1: H-Joints (The Classic Tell)
What it looks like: End joints in every other row line up vertically, creating a repeating H-shaped pattern across the floor. Your eye picks it up instantly, even from across the room.
H-joints happen when you start every second row with the same length piece. Row 1 starts full, Row 2 starts half, Row 3 starts full again. Now the end joints in rows 1 and 3 are in the same spot. Repeat that across the room and you’ve got a grid.
The fix:
Check that the end joint in each row is at least 3x the board width away from the joint in the row two below it (not just the adjacent row). For 100mm boards, that’s 300mm minimum. For 150mm boards, 450mm.
Mistake 2: Stair Stepping
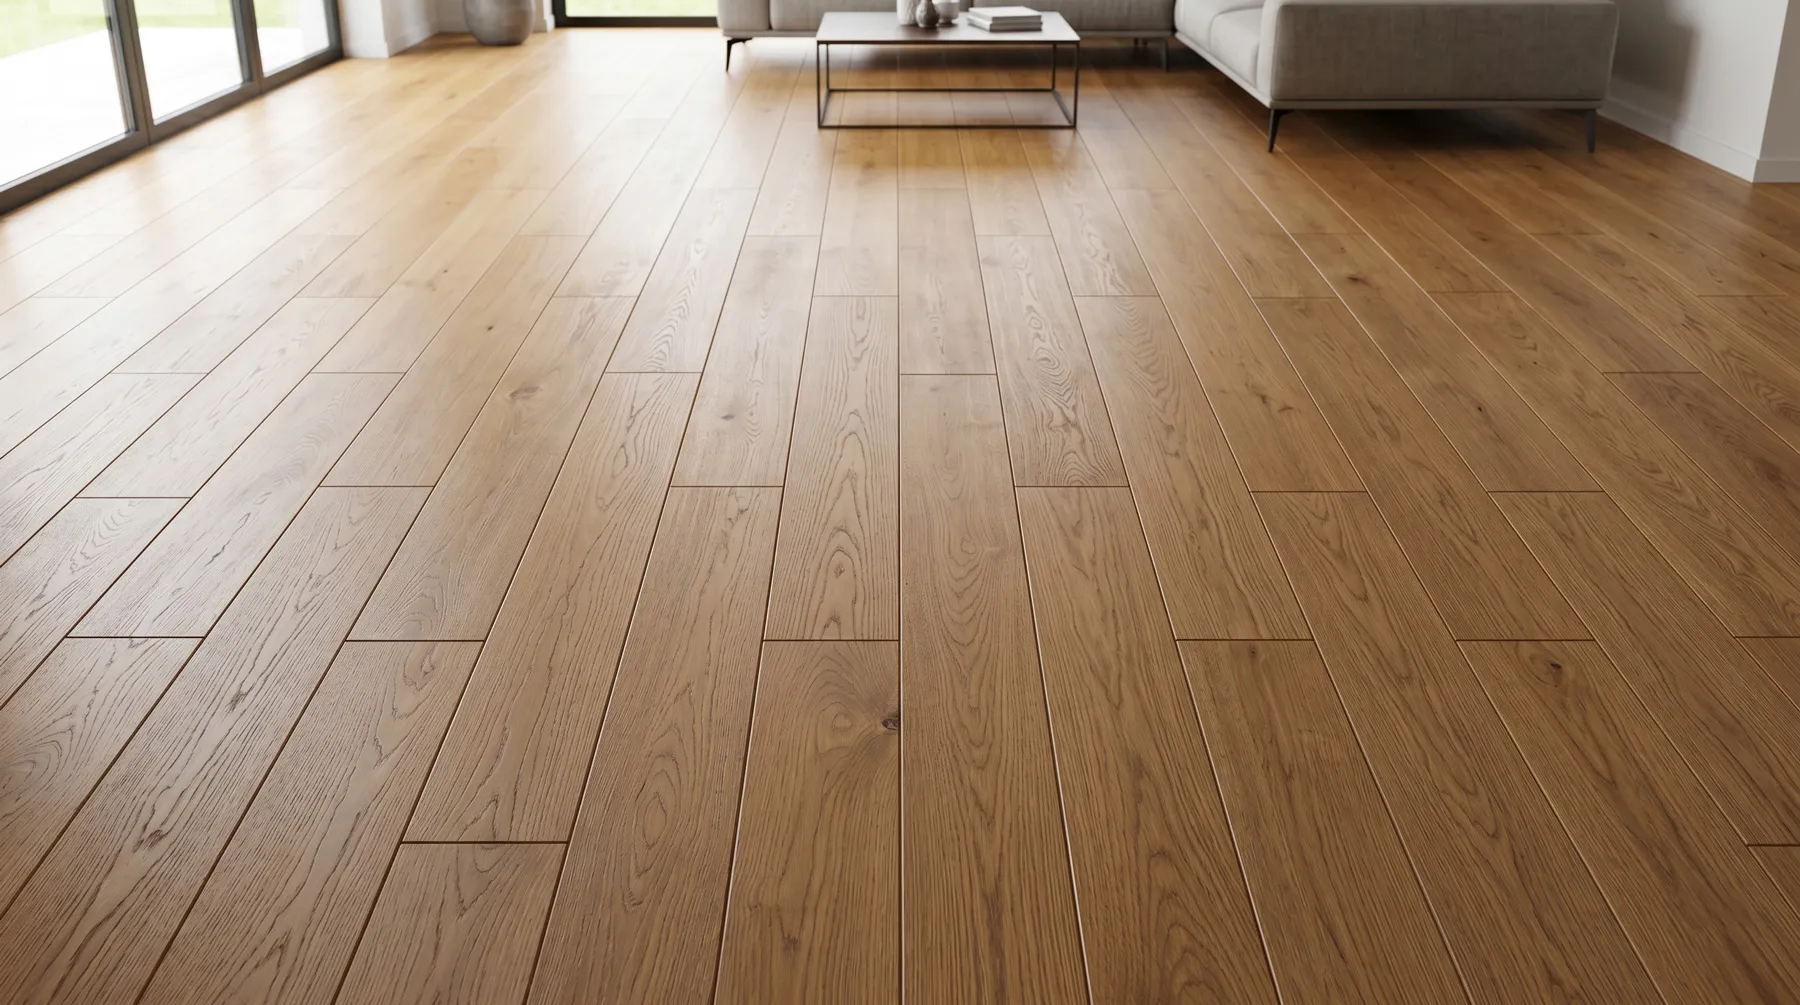
What it looks like: End joints form a diagonal line climbing up the room. Each joint is offset from the one below, but by a consistent amount. Your eye follows the diagonal like a staircase.
This is the sneakier cousin of the H-joint. You think you’re randomizing because each joint is in a different spot. But because you’re always starting each row with the offcut from the previous one, the offset is consistent. The pattern repeats at the same interval, just shifted.
Quick test: Stand at one end of the room and look down the joint lines. If your eye can follow a diagonal path across 4+ rows, you’ve got stair stepping. Break it by discarding the current offcut and starting a few rows with a fresh board cut to a random length.
Mistake 3: Not Enough Stagger Distance
What it looks like: End joints are offset, but only by 50-100mm. The pattern doesn’t repeat, but the joints are so close together that the floor looks cluttered and busy.
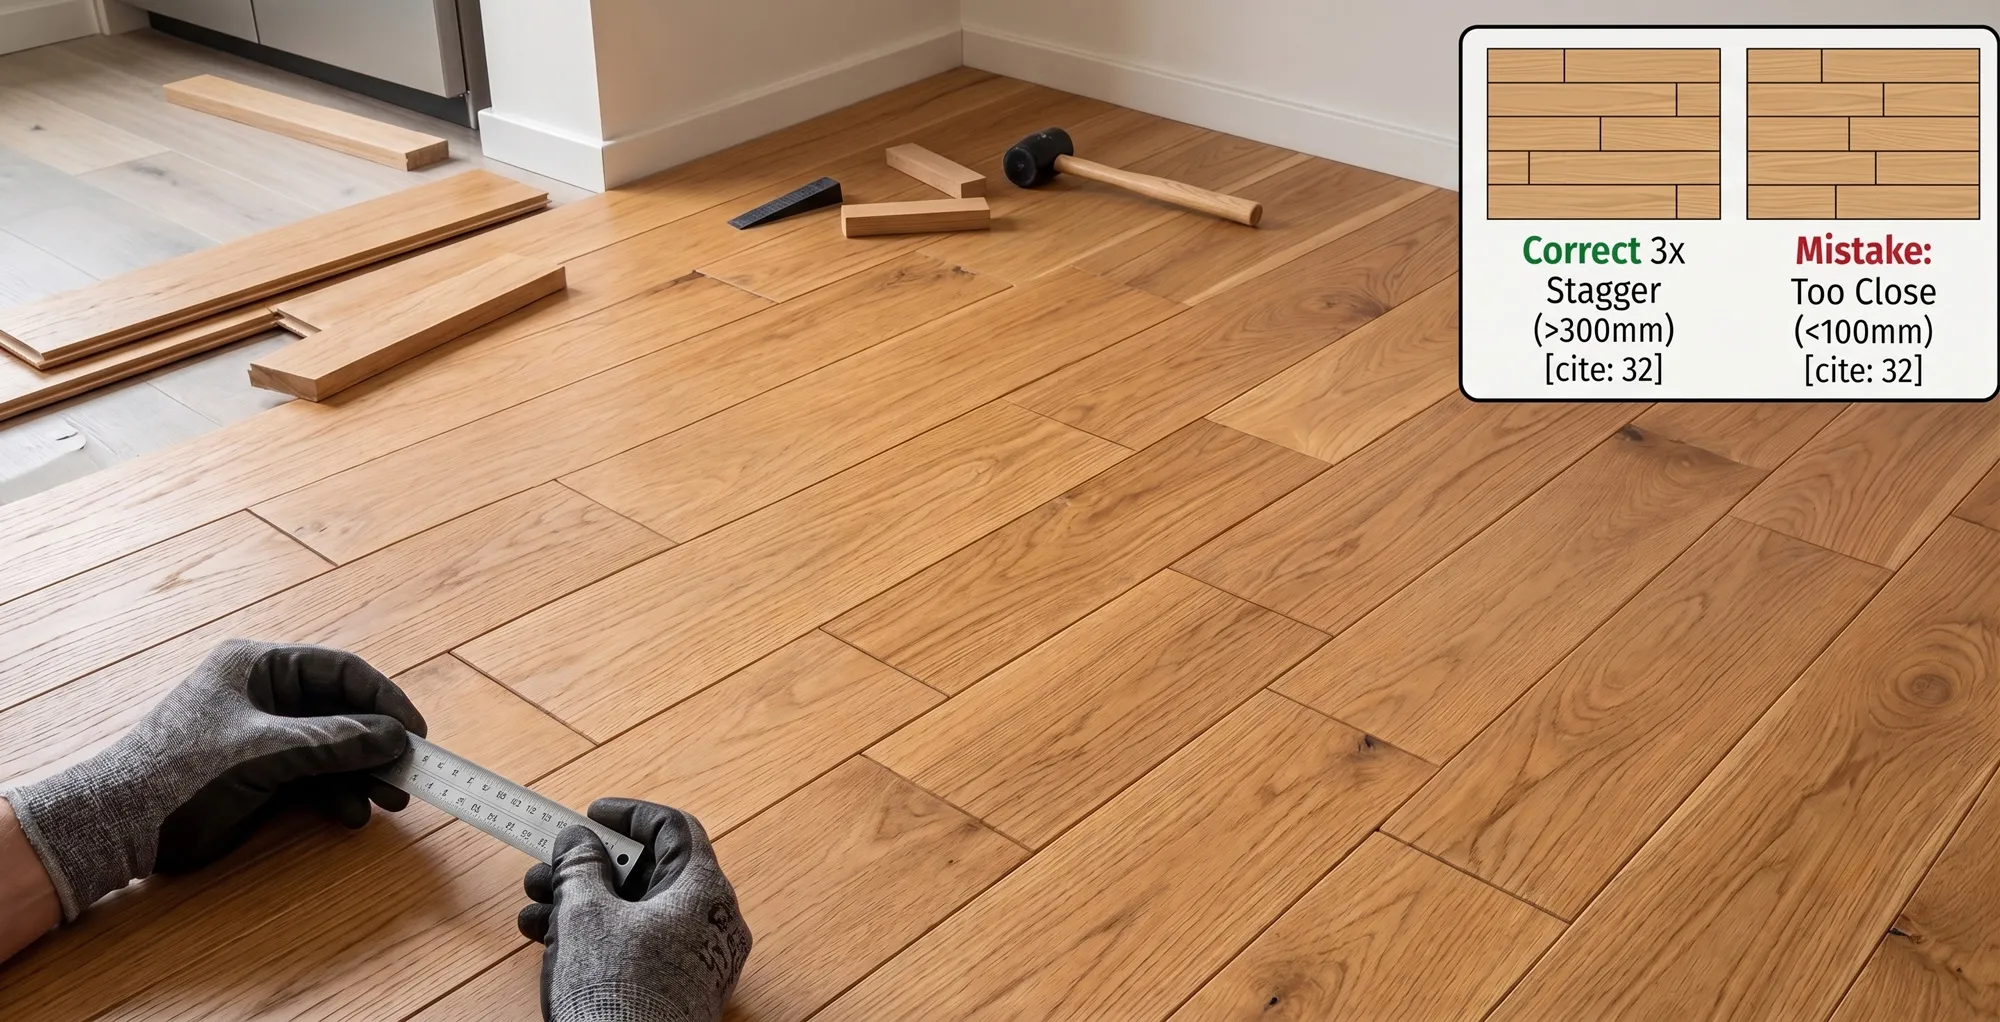
Some installers think “as long as the joints don’t line up, it’s fine.” Not quite. When end joints in adjacent rows are only 50-100mm apart, the eye reads them as a pair. It creates visual noise that makes the whole floor feel chaotic.
The 3x rule
Minimum stagger distance = 3x board width. For standard 100mm boards, that’s 300mm. For 150mm boards, 450mm. This is the industry standard for a reason: it’s the minimum distance where joints stop reading as connected.
Use Floorboard Planner to check your stagger distances automatically. No more guessing whether joints are far enough apart.
Mistake 4: Repeatable Patterns
What it looks like: You can predict where the next joint will land. The pattern repeats every 4-6 rows. From a distance, the floor has a visible rhythm that looks machine-made.
This happens when you use a fixed rotation of starter lengths. “Full, half, quarter, three-quarter, repeat.” It feels random because you’re using four different lengths, but the repetition shows up fast. The human eye is incredibly good at spotting patterns, even subtle ones.
The fix:
Don’t use a fixed rotation. Instead, look at the offcut from the previous row and decide on the spot: does it create a good stagger distance from the joints in the rows below? If yes, use it. If no, cut a fresh board to a different length. Let the room dictate the pattern, not a formula.
Mistake 5: Too Many Short Pieces
What it looks like: Rows peppered with pieces under 200mm. They’re structurally fine, but they create a patchwork look that breaks up the clean lines of the floor.
When you’re optimizing for waste reduction, it’s tempting to use every offcut, no matter how short. But pieces under 200mm look wrong in a floor. They draw attention to themselves and make the installation look cheap, even if the wood cost a fortune.
Minimum piece length: Don’t use any piece shorter than 200mm (or 300mm for wider boards). Yes, it means slightly more waste. But the result looks professional. A good planning tool enforces this automatically.
How to Check Your Stagger Before You Glue
Dry-fit the first 4-5 rows before committing. Then step back and check:
Try our free floorboard planner → It enforces all five rules automatically on every layout.
The Shortcut: Plan Your Stagger Digitally
Try our free floorboard planner → It enforces all five rules automatically on every layout.
All of these mistakes are avoidable if you plan the layout before cutting a single board. A digital planning tool enforces stagger rules automatically: minimum joint distance, no H-joints, no stair stepping, and minimum piece lengths.
Floorboard Planner generates a cutlist where every stagger rule is checked before you see it. You get a per-plank cutting order that produces a genuinely random-looking pattern, with no repeatable rhythm and no joints closer than 3x board width. Takes 5 minutes instead of 5 hours of dry-fitting and second-guessing.
Written by the Floorboard Planner Team
We build floor planning software used by professional flooring installers and DIY homeowners worldwide. Our cutlist engine has planned over 10,000 rooms and enforces proper stagger rules on every layout it generates.
Frequently Asked Questions
Related Guides
What is an H-joint in floorboard installation? +
What is the minimum stagger distance for floorboards? +
Why does my floorboard pattern look like stairs? +
How do I randomize a floorboard stagger pattern? +
Can you stagger floorboards too much? +
Related Reading
- → Which Direction to Lay Hardwood Flooring — Get the direction right before worrying about stagger
- → Hardwood vs Laminate Flooring — Compare materials before planning your installation
Want a stagger pattern that actually looks random?
Floorboard Planner enforces proper stagger rules on every layout. No H-joints, no stair stepping, no joints closer than 3x board width. Free to try.
Try Floorboard Planner Free →